Before we get started there are a few things I would like you to know about developing apps for Windows Phone 8.1. You are going to need Visual Studio Professional 2013 Update 4 IDE as a programming environment and a basic understanding of Object Oriented Programming languages. The programming language is C#, which is similar to Java if you find that more familiar. You also need to have Windows 8.1 installed. Today, I’m going to show you how to build your first Windows Phone app step by step starting from the installation of the IDE. So let’s get our hands dirty!
Getting things ready
First things first, you need to install Visual Studio Professional 2013 Update 4. If you are a student you can download it for free at DreamSpark. After the download finishes, extract the files located inside the .iso with WinRar, WinZip, Daemon Tools or any equivalents you prefer using. At the end the extracted folder should look like this:
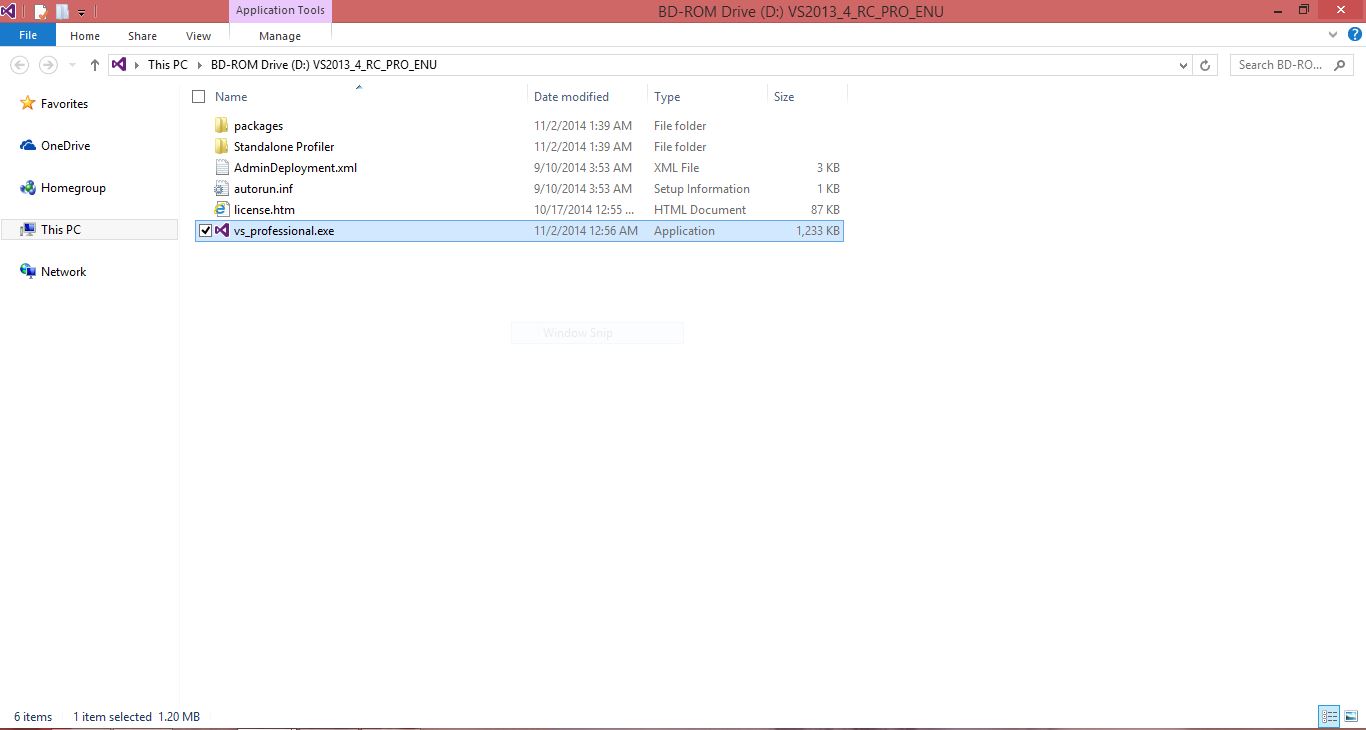
Double-clicking vs_professional.exe will take you through the installation process. Choose where you want to install the files, agree to the Licence Terms and Privacy Policy, and then hit Next to continue. Select all the checkboxes, and click Install. Don’t worry, I’m not taking you anywhere unsafe, you have my word! Based on what computer power you have it will take some time to complete the installation, so don’t just stare at the progress bar. During the process the setup might need a Reboot to finish the installation. When it’s all done you will see a confirmation message and a Launch button. Hit it so we can start our adventure!
You might want to Sign in to Visual Studio using your Microsoft account, or leave that for another time. The next step is to choose a color theme between Blue, Dark, and Light. I have chosen Dark, because the screen brightness keeps my roommate awake, but you can choose whatever you like. Click Start Visual Studio and we’re ready to go.
Before I get to the project, I would like to give you a tip on the windows that you keep open inside the program. This is optional, but I think you will help you have a better experience. When you work on the design of the app it’s good to keep the most common tools within reach. The first window is the Toolbox. At the top of the window, click the pin to dock it. You will also find it useful to have the Document Outline window pinned. At first it may look like nothing, but it’s handy when you have elements layered on top of one another. You will find it easy to select, hide/show, or put the element you want in the right hierarchy. Last is the Properties window. There you can modify any element without getting into code. If you don’t have these windows visible right away, you can find them in the View->Other Windows menu option, or after loading your project.
Our first project
Once inside Visual Studio, we are presented with a Start Page. On the left click New Project to create a new project. If for some reason you don’t see this option don’t worry. Click the File -> New -> Project menu option. In both cases you will get to the window below:
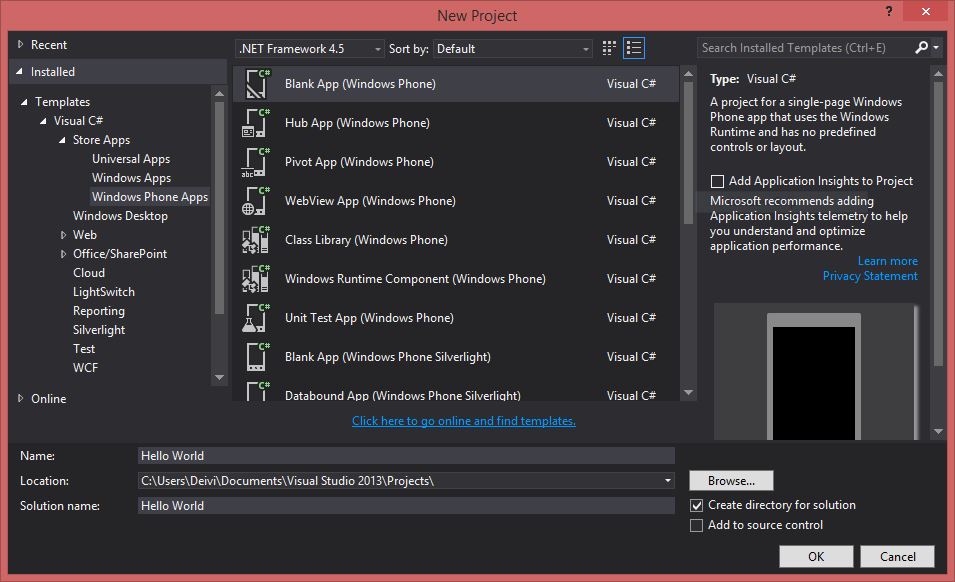
On the left hand side, make sure you have Templates -> Visual C# -> Store Apps -> Windows Phone Apps selected. Select Blank App (Windows Phone) and name it Hello World. Finally, click Ok. The Start Page closes and App.xaml.cs is opened automatically.
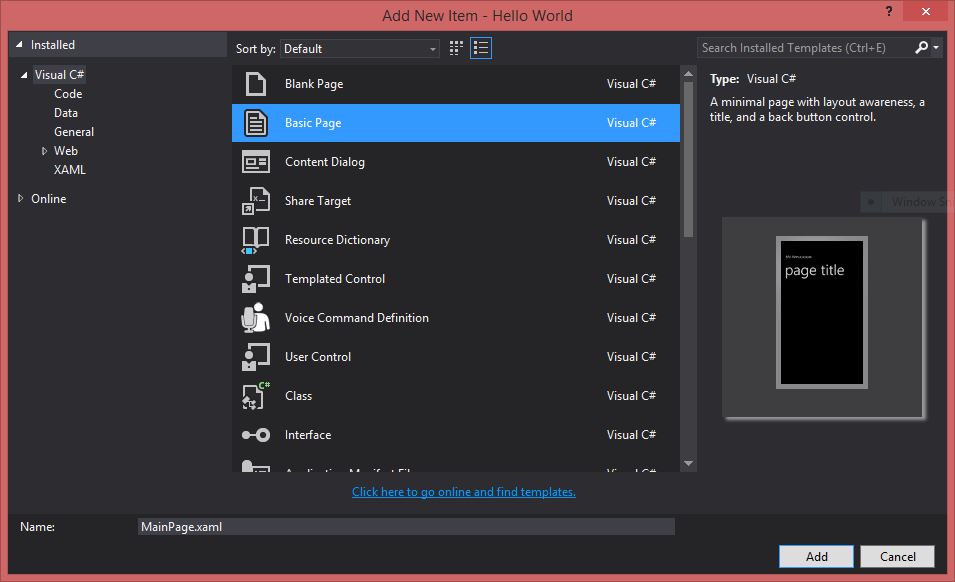
Inside this class there are a couple of methods that tell how the app will behave at execution, such as what is the first page that is going to open. You can go ahead and close this file, because we are not going to need it. In the Solution Explorer window delete the MainPage.xaml file. It’s just a blank page, so don’t feel bad about it. We are going to use a more general page that has a Windows Phone design to make things easier. In the Solution Explorer again, right-click the Hello World project -> Add -> New Item. In the window that opens select Blank Page and name it MainPage.xaml.
Click Add, then Yes. If you followed my tip earlier, your Visual Studio window should look like this:
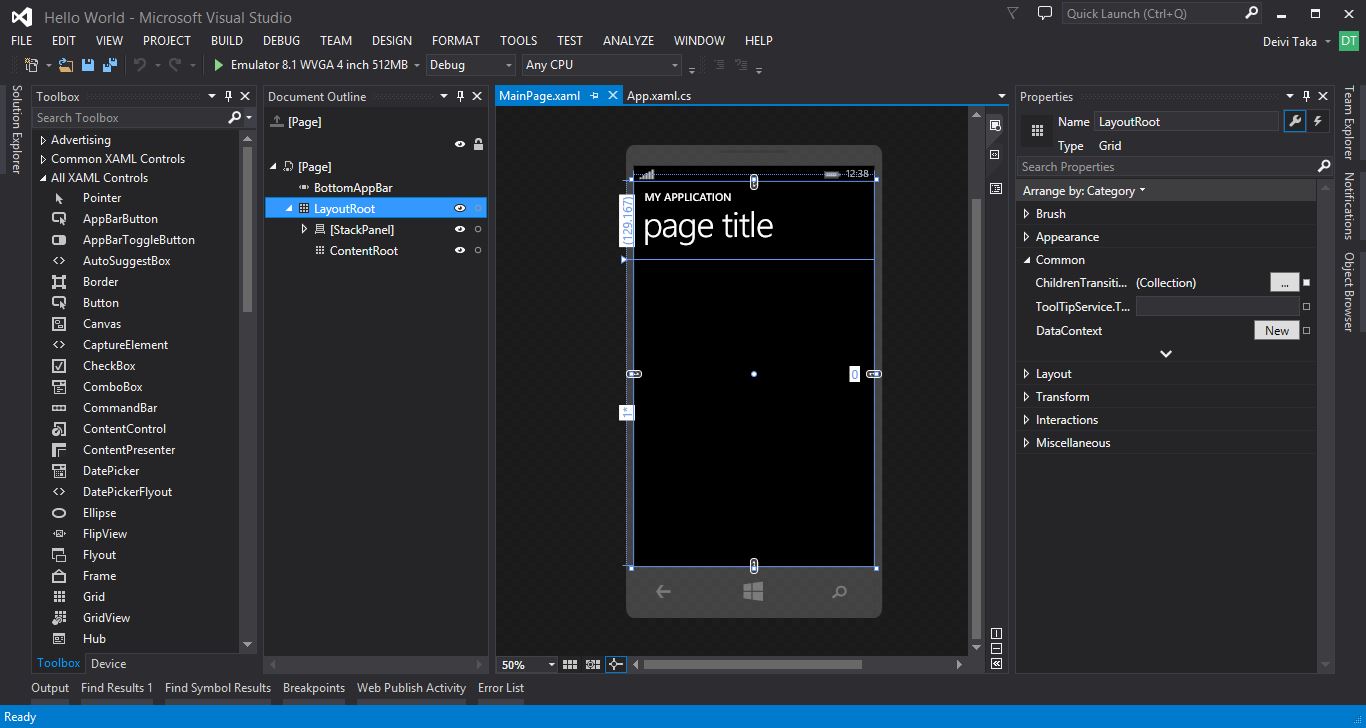
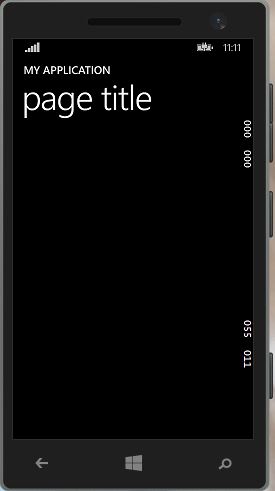
Select My Application inside the designer and in the Properties window change its Text property to Hello World. Then select Page Title and change it in the same way as in Main Page. We will look at each of the tools in Toolbox in later posts, but for this project we are going to leave it as it is. For now we’re ready to debug.
Debugging on the Emulator
Located in-between the menu bar and the coding window, click the green debug button Emulator 8.1 WVGA 4 inch 512MB. You will see your app opening in an almost real Windows Phone device. As the name implies, the screen-size will be 4 inches, and the emulator will use 512MB of your RAM. Be patient the first time it loads the OS it will take a while. But finally, there it is! Your first Windows Phone app!
The Windows Phone Emulator is a great tool to use if you don’t have a real device available. On the right side you can see a vertical bar with a selection of icons. I’ll explain what they are for, starting from the top.

The first two are easy to guess, close and minimize. Next is the Single Point Input you can use to press, press and hold, and swipe. Below that, the Multi-touch Input helps you zoom in and out like your were using two fingers. Rotate Left and Rotate Right turn the phone on each side. Fit to screen zooms the phone to the right size for your screen height. On the other hand, you can use Zoom to customize the zoom level. You can find some help online clicking the question mark. Finally, the last button takes us to Additional Tools.
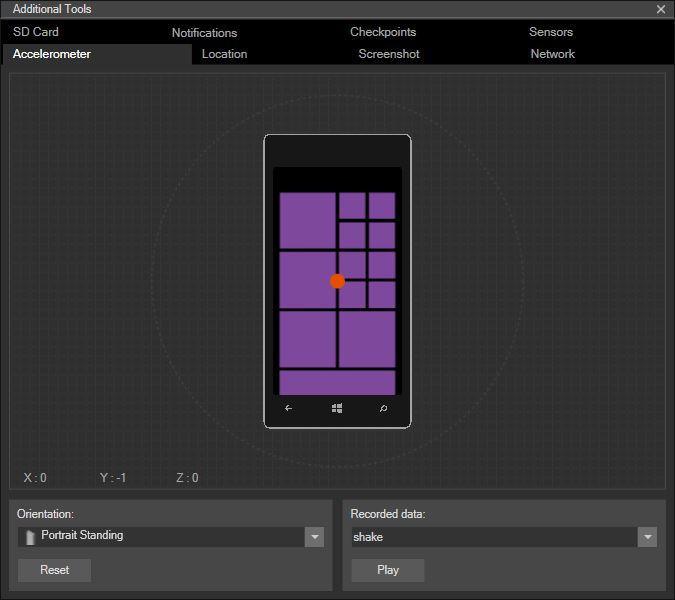
You can see eight different tabs. Each of them helps test your app in real-life conditions. We are going to look at them more closely later on, in other posts.
Debugging on a real device
If you want to debug your app on a real Windows Phone, or install it, you need a developer account. If you don’t have one, you can find information here on how to join the “Dev Club”. If you have joined already, click Start, and enter your Windows Phone Developer Registration details.
Connect your Windows Phone via USB cable and unlock the screen. The phone should be recognized automatically. Login with your developer account credentials, and in a couple of minutes your phone will be ready to use for debugging and testing. In Visual Studio, select Device instead of the 4 inch Emulator and hit the button. You’ll see the magic happening right in front of your eyes!
Conclusion
In this tutorial we saw how to get everything ready for Windows Phone 8.1 development. We had our first experience with a modest Hello World program, which we will continue to modify later on. You can download the source code from GitHub. I hope this post has been a good introduction to you.
Thank you for your time. May Code be with you!