Whilst they are often overused, notifications are an effective way to get a users attention and inform them of updates or actions they need to take. iOS 10 brings updates to notifications such as new messages, offers, and timetable changes. In this tutorial I will show you how to use notifications in your iOS apps and show the new features that iOS 10 introduces. To develop push notifications for iOS 10 you will need the latest version of Xcode available, Xcode 8 beta, which is available on the download page.
You can download the full project from GitHub.
Getting Started
Enabling Push Notifications is easy in Xcode, but you need to take a couple of steps.
Create a new project, give it a unique name and Bundle Identifier.
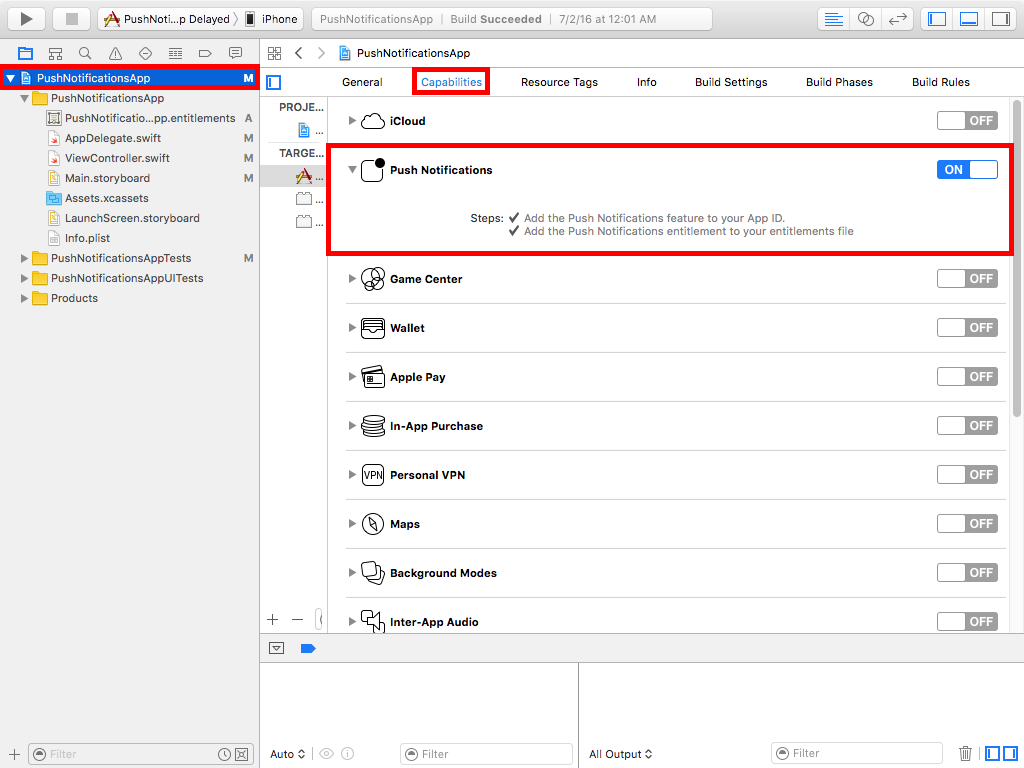
When you have created the project, go to Project Settings and select the Capabilities tab. Turn on Push Notifications as shown below.
Note: You will only see push notifications in the capabilities section if you are a paid member of the Apple developer program.
Go to the Developer Account section and check the changes Xcode automatically made. Select Certificates, IDs & Profiles from the left menu, and select App IDs in the Identifiers section. Find the name of the app created, and select it to display the list of services. Notice that there are two Configurable statuses next to Push Notifications.
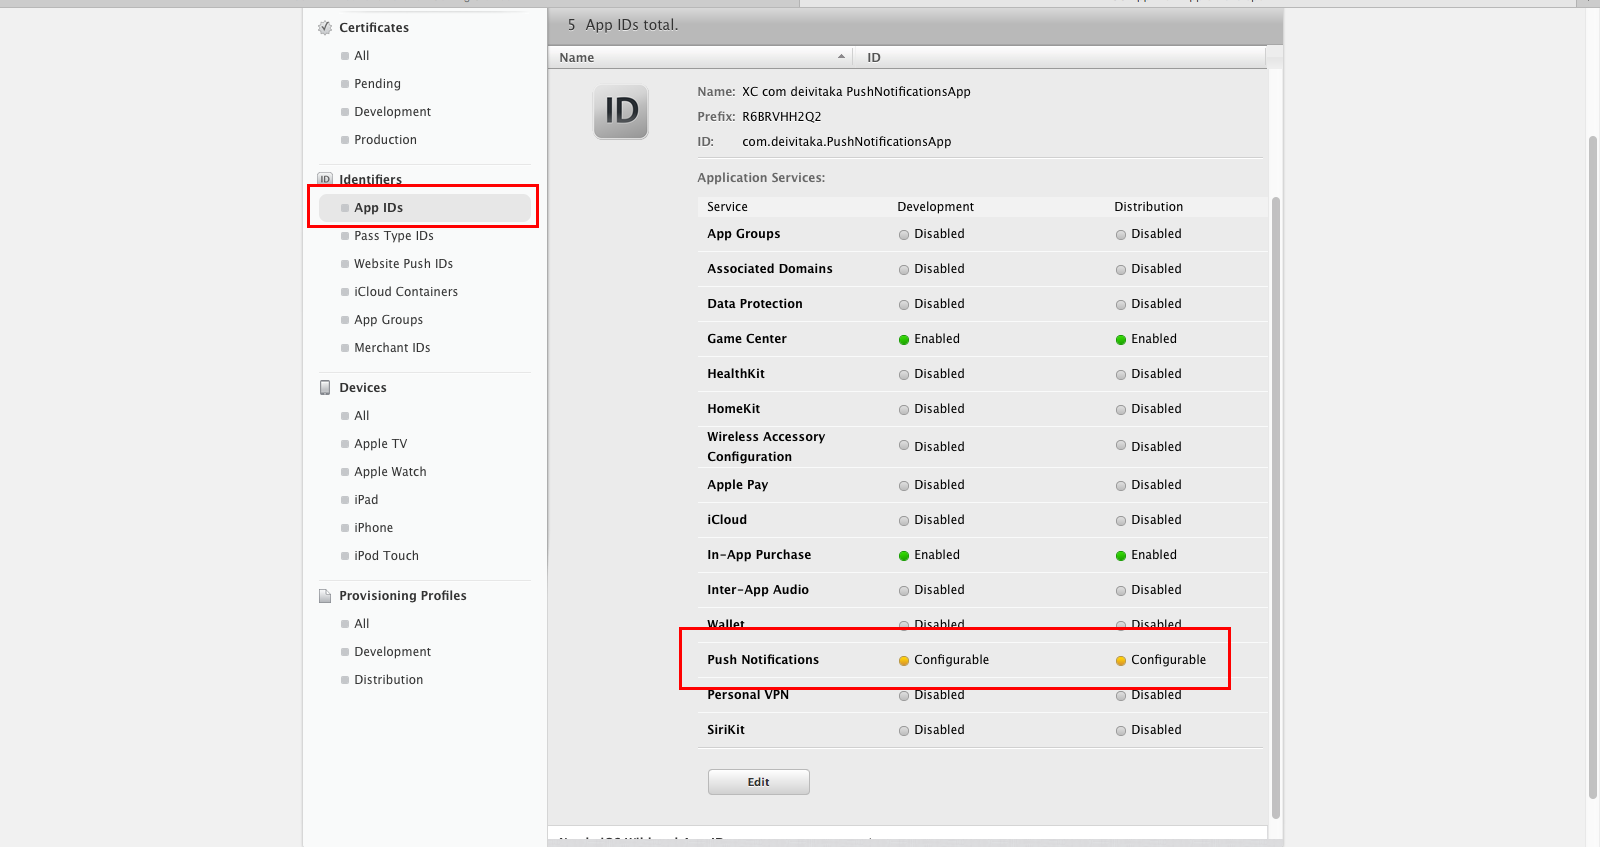
Don’t close this screen yet, you will return to it soon.
Sending the Notification
In this article I will use Pusher to send push notifications. You can also use other solutions such as Houston. Either way, to send a notification, you will need a certificate.
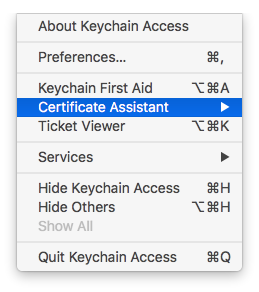
To create a certificate, open Keychain Access and select the Keychain Access -> Certificate Assistant -> Request a Certificate from a Certificate Authority menu item.

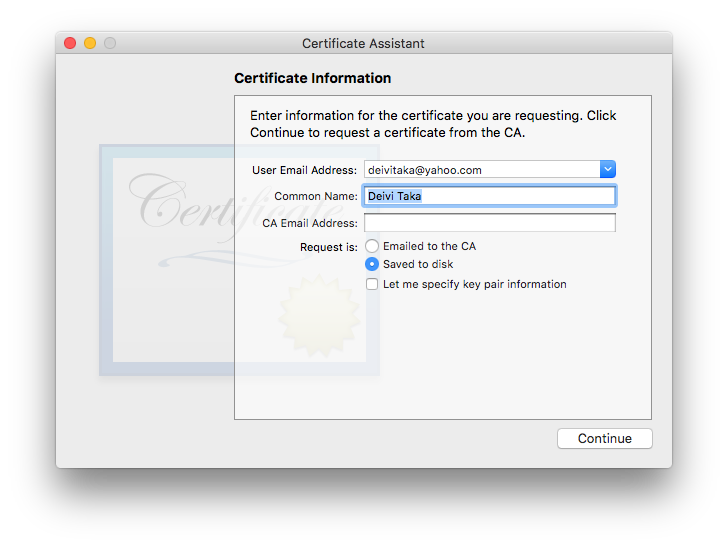
Fill in the form and click Continue. Make sure that you select Saved to disk.
Return to the Developer Account screen. You can generate the certificate for development or distribution in App IDs. After selecting the right application, at the bottom, click Edit. In the Push Notifications section, click Create Certificate for development.
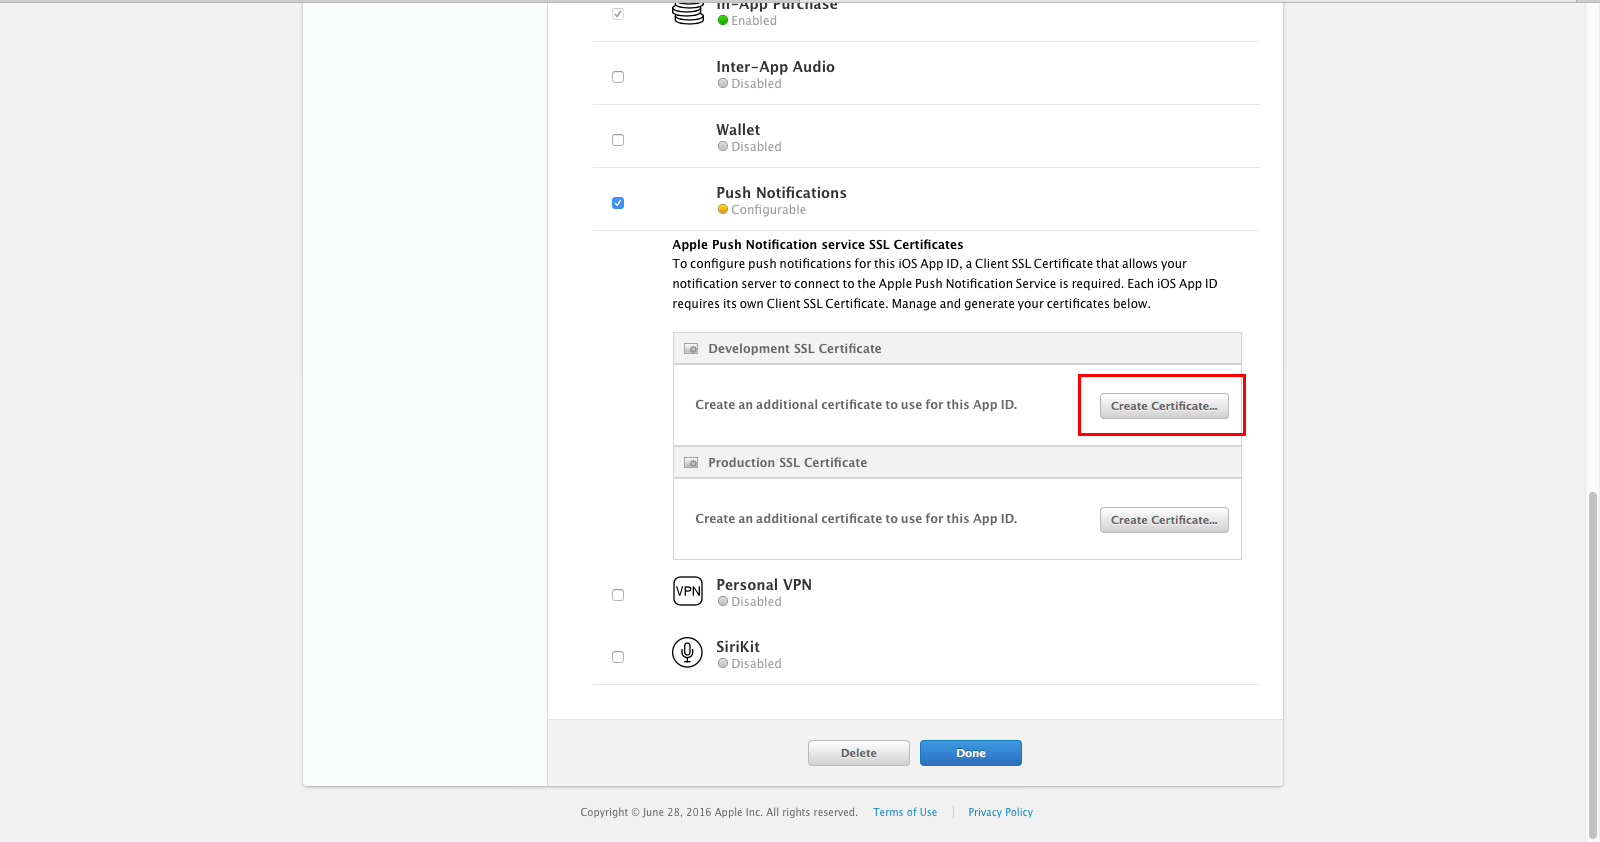
When required, upload the certificate request generated from Keychain and continue.
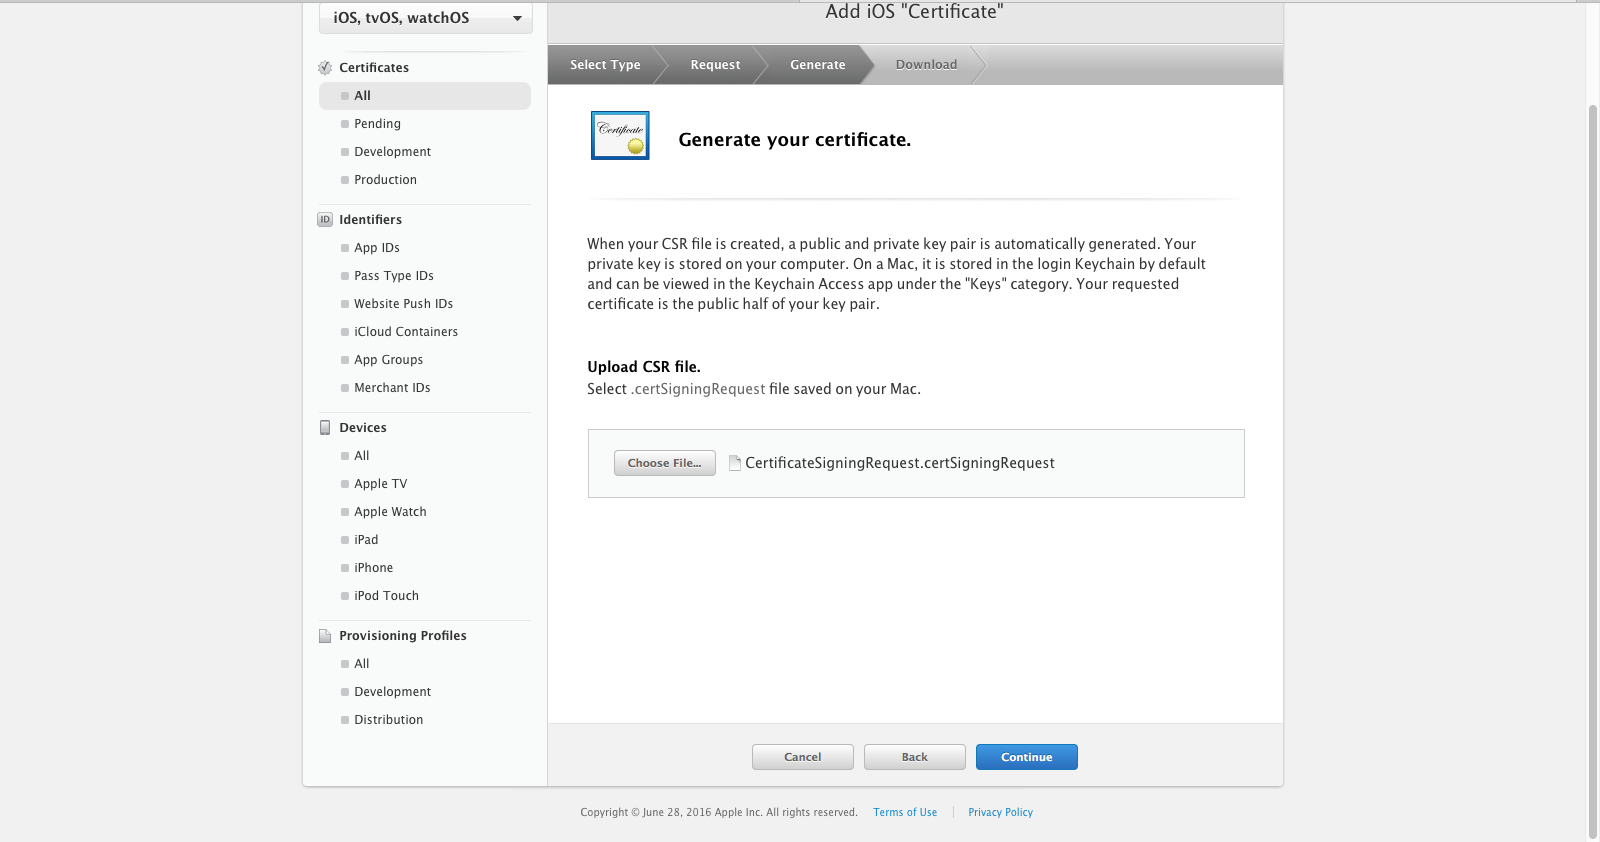
You have now created the certificate and can download it. To install it, open the downloaded file.
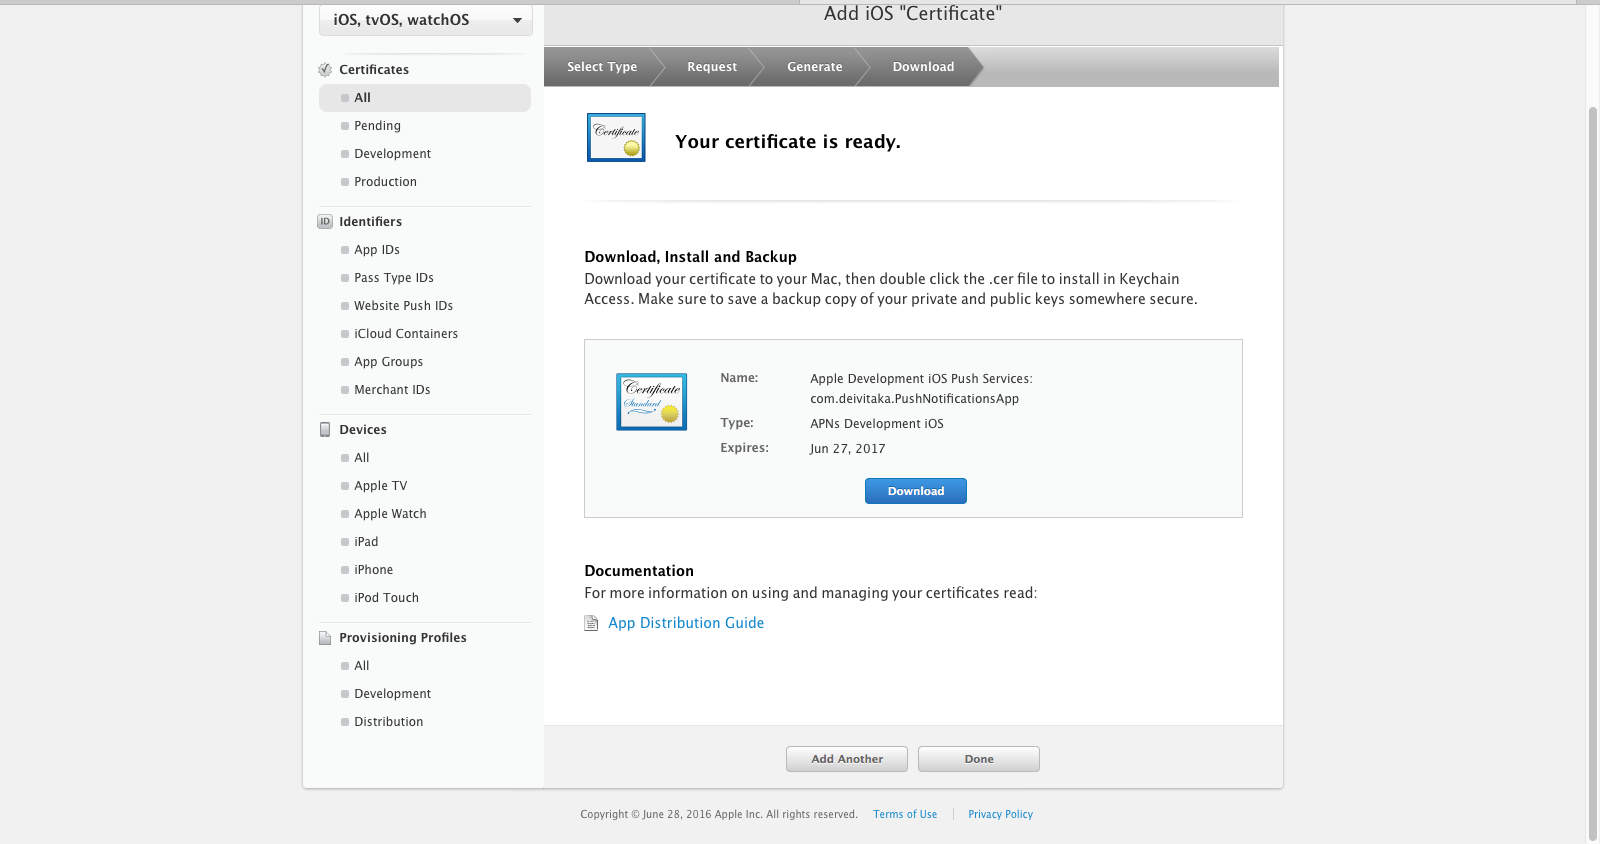
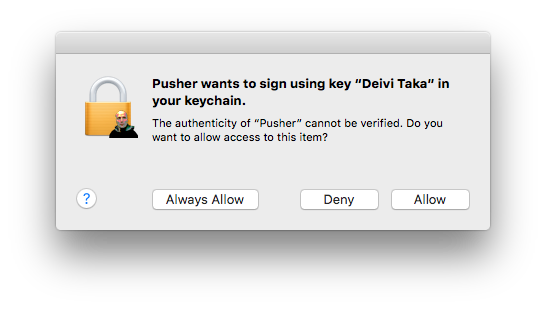
Download and run Pusher. The combo box at the top of the window requires a Push Certificate. Since it’s located in your Keychain, OS X will ask whether to allow access the moment Pusher tries to access the certificate.
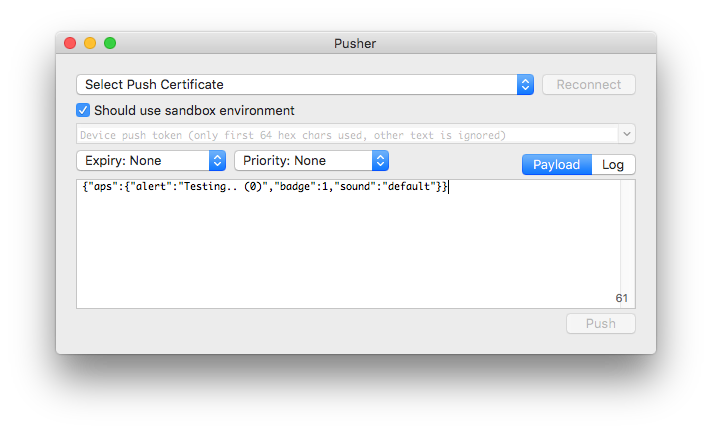
The second field requires the device token which you will get in the next step.
Getting the Notification
Time to get coding. The device that will receive the notification must be registered to the Apple Push Notification Service (APNS). You do this by sending a unique token generated at the app launch.
Open AppDelegate.swift and add the following method.
Note: This code includes changes from Swift 3.0. The syntax may look different from what you’re used to.
func registerPushNotifications() {
  DispatchQueue.main.async {
    let settings = UIUserNotificationSettings(types: [.badge, .sound, .alert], categories: nil)
    UIApplication.shared().registerUserNotificationSettings(settings)
  }
}
In the settings you specify the types of notifications the app will receive, which I will explain later. Call this method at application launch in the same file.
func application(_ application: UIApplication, didFinishLaunchingWithOptions launchOptions: [NSObject: AnyObject]?) -> Bool {
  registerPushNotifications()
  return true
}
At this point the application will automatically show a popup requesting the user’s permissions to send notifications.

The notification must only be registered and sent if the user approves it. The UIApplicationDelegate method handles responses.
func application(_ application: UIApplication, didRegister notificationSettings: UIUserNotificationSettings) {
  if notificationSettings.types != UIUserNotificationType() {
    application.registerForRemoteNotifications()
  }
}
First check if the user has granted permission, then call the method to register for remote notifications. The latter will call another delegate method when the request completes. The response consists of a device token, which you can print for debugging. You will need this token when sending push notifications to identify the device.
func application(_ application: UIApplication, didRegisterForRemoteNotificationsWithDeviceToken deviceToken: Data) {
  let chars = UnsafePointer<CChar>((deviceToken as NSData).bytes)
  var token = ""

  for i in 0..<deviceToken.count {
    token += String(format: "%02.2hhx", arguments: [chars[i]])
  }

  print("Registration succeeded!")
  print("Token: ", token)
}
If something goes wrong, call the following method.
func application(_ application: UIApplication, didFailToRegisterForRemoteNotificationsWithError error: NSError) {
  print("Registration failed!")
}
Note: It’s important to call registerUserNotificationSettings at application launch, because the user can change permissions in their settings. Also registerForRemoteNotifications is important, because there are scenarios where the device token can change and notifications will no longer be sent.
So far, this is setup is enough to receive a sample notification.
Notification Payloads
There are different ways an app can receive notifications specified in the notifications’ payload, which contains information on how the app will notify the user, or custom data that you can send with the notification.
A notification is sent to the user as a JSON dictionary that itself contains a dictionary with the key aps. In this second dictionary you specify the payload keys and values.
The most common are:
- The notification message shown to the user. This can be a simple string, or a dictionary with keys like title, body, etc.
- The sound the device will play when it receives the notification. It can be a custom sound of the app, or a system sound.
- The number the app will have in the corner of its icon as a badge. Setting this to 0 removes the badge.
content-available: Use with value 1 to send a silent notification to the user. It will not play any sound, or set any badge number, but it will wake up the app so it can communicate with the server. A sample notification payload for the rest of this tutorial is:
{
  "aps": {
    "alert": {
      "title":"Hello! :)",
      "body":"App closed..."
    },
    "badge":1,
    "sound":"default"
  }
}
Application Lifecycle
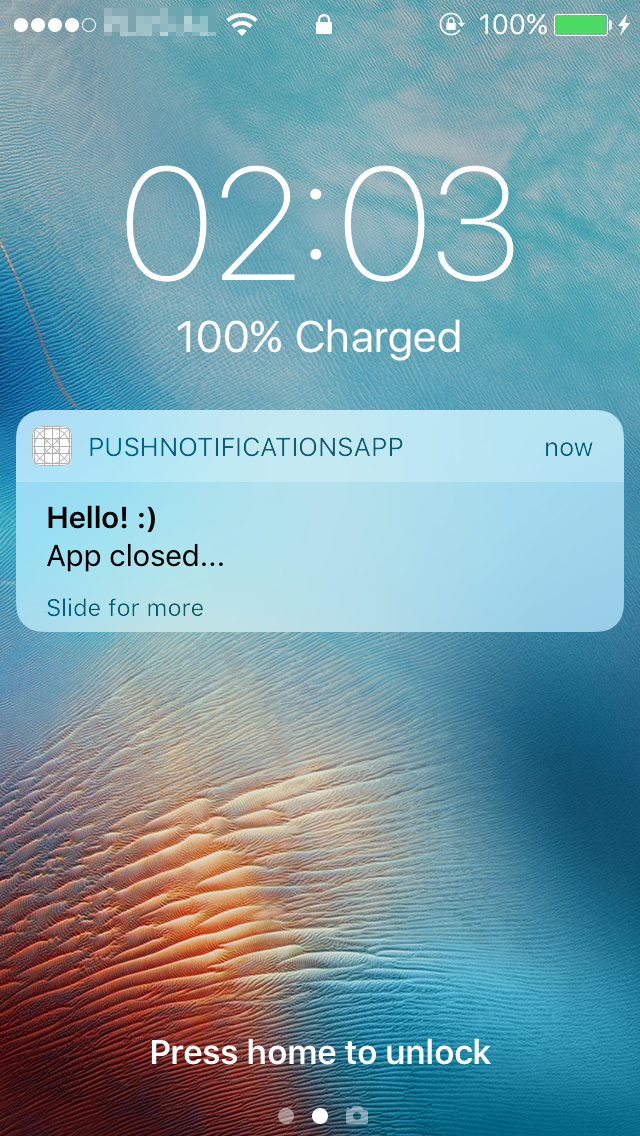
Copy the device token printed in the Xcode console to Pusher. Then copy the JSON object above to the payload text field.

Try to push the first notification. If the device’s screen is locked, it will look as follows, but nothing will happen when a user chooses View.
To handle notifications you need to add new methods:
private func getAlert(notification: [NSObject:AnyObject]) -> (String, String) {
  let aps = notification["aps"] as? [String:AnyObject]
  let alert = aps?["alert"] as? [String:AnyObject]
  let title = alert?["title"] as? String
  let body = alert?["body"] as? String
  return (title ?? "-", body ?? "-")
}
This will return the title and the body of the notification received, if the structure is the same.
func notificationReceived(notification: [NSObject:AnyObject]) {
  let viewController = window?.rootViewController
  let view = viewController as? ViewController
  view?.addNotification(
    title: getAlert(notification: notification).0,
    body: getAlert(notification: notification).1)
  }
This method will add a row to the UITableView in the applications main view (see the full project for the ViewController code).
I tested the push notifications in three cases:
When the App Closes
If the user opens the app from the notification, call the didFinishLaunchingWithOptions method, updated as follows:
func application(_ application: UIApplication, didFinishLaunchingWithOptions launchOptions: [NSObject: AnyObject]?) -> Bool {
  // Override point for customization after application launch.

  application.applicationIconBadgeNumber = 0; // Clear badge when app launches

  // Check if launched from notification
  if let notification = launchOptions?[UIApplicationLaunchOptionsRemoteNotificationKey] as? [String: AnyObject] {
    window?.rootViewController?.present(ViewController(), animated: true, completion: nil)
    notificationReceived(notification: notification)
    } else {
      registerPushNotifications()
    }
    return true
  }
The badge is cleared, assuming that the user has seen the notification. Then, check if the app is opened from the icon or from a notification. In the first case, call the registerPushNotifications() method and the flow continues as earlier. In case the app runs from the notification, call the custom notificationReceived method and add the row.
When the App Is in Foreground
If the user is using the app, meaning the app is in the foreground, handle the notification with the following method. It adds the notification to the tableView:
func application(_ application: UIApplication, didReceiveRemoteNotification userInfo: [NSObject : AnyObject]) {
  notificationReceived(notification: userInfo)
}
Note: In this scenario, the notification will not play a sound.
When the App Is in Background
In this case I added a method to clear the badge number. The handling of the notification happens in the same way as when the app is in the foreground.
func applicationWillEnterForeground(_ application: UIApplication) {
  application.applicationIconBadgeNumber = 0; // Clear badge when app is or resumed
}
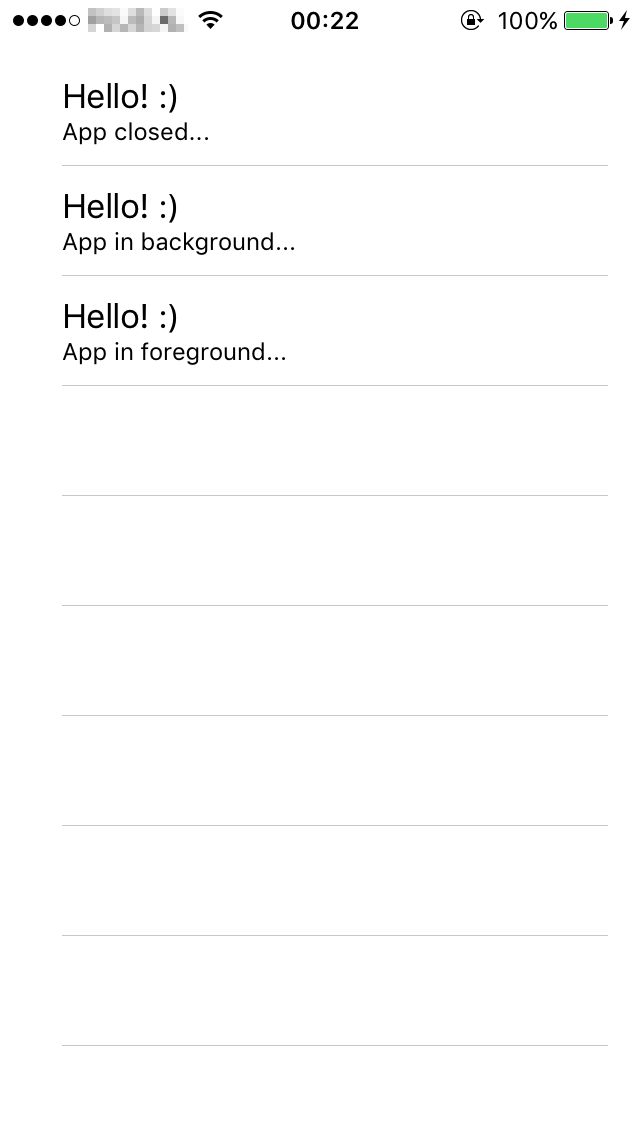
In the end the table will have three rows with the content of all the notifications.
Push It Forward
With iOS10 Notifications are a more interesting opportunity for developers, offering levels of interactivity unavailable before. I hope this guide to getting started with notifications in your apps helped you understand better how they work.
Have fun sending notifications. May the Code be with you!