Maps have become an essential part of app use cases from tourist guides, to business directories and social recommendations. Unsurprisingly, the Windows Phone platform supports Bing maps by default and makes it easy to implement.
The final project for this tutorial is on GitHub.
Adding a Map
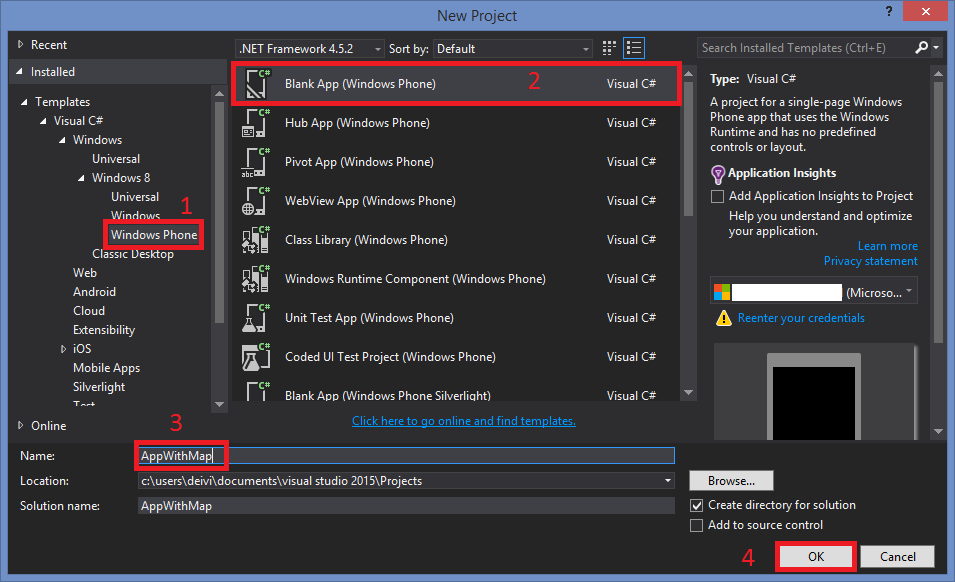
First we need to create an application to hold our map, do this by using the Ctrl+Shift+N keyboard shortcut or by selecting the File -> New -> Project… menu item Both ways will take you to the window below. On the left make sure you select Windows Phone, then choose Blank App (Windows Phone). Give your app a name and click Ok.
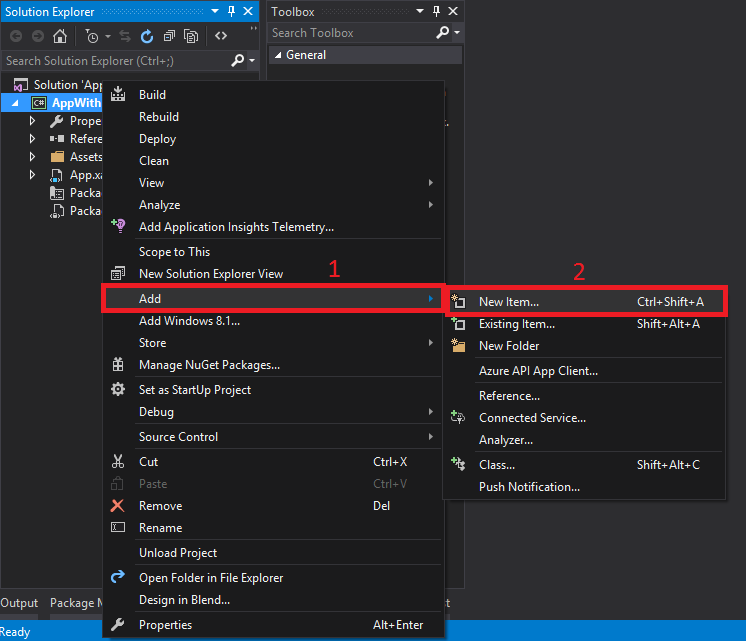
Opening MainPage.xaml you will notice a black blank MainPage. If you’d like to add a new default page title and app name, delete it and right-click on the project and select Add -> New Item…
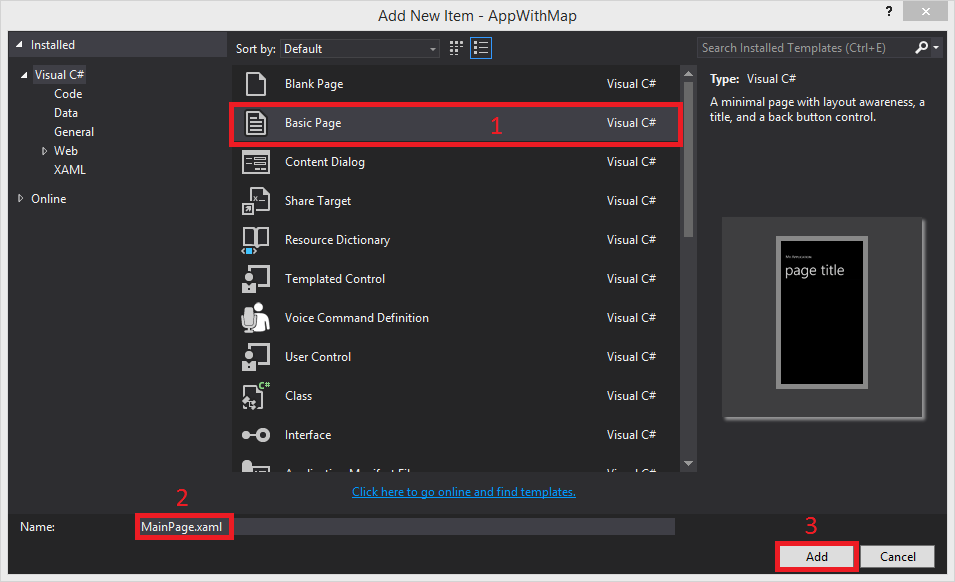
Choose Basic Page and name it MainPage.
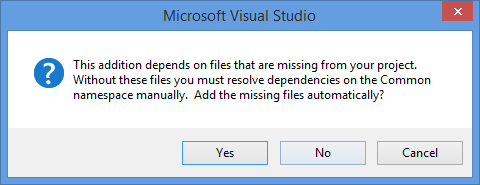
At the next prompt hit Yes. It automatically adds the files needed to manage page navigation. These classes end up in a folder named Common.
Now to add the map, just drag a MapControl from the Toolbox and drop it to LayoutRoot grid in the Document Outline. You can also drop it inside the designer. The xaml code will automatically generate as you can see below.
If you wish to add the control yourself, add this line of code inside the tags of ControlRoot grid.
<maps:MapControl />
It needs a reference inside the opening Page tag , or will result in an error.
xmlns:maps="using:Windows.UI.Xaml.Controls.Maps"
This is enough to create the control, but we will add a couple more properties.
At this point you can run your app and it will compile with no errors, but when it launches you will see a message instead of a map stating Warning: MapServiceToken not specified. We solve this in the next step.
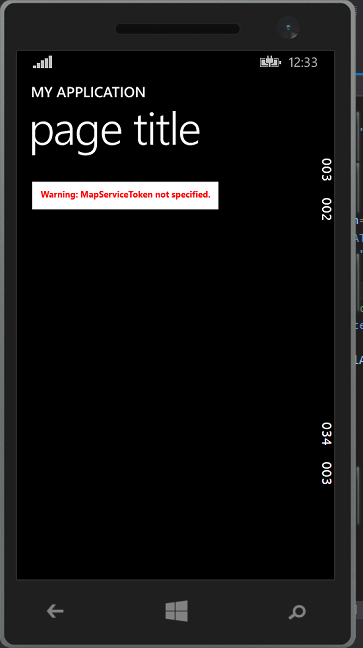
Add MapServiceToken
To use a MapControl in your app, you must be a registered Windows developer and reserve a name for your app to generate a token to use the service.
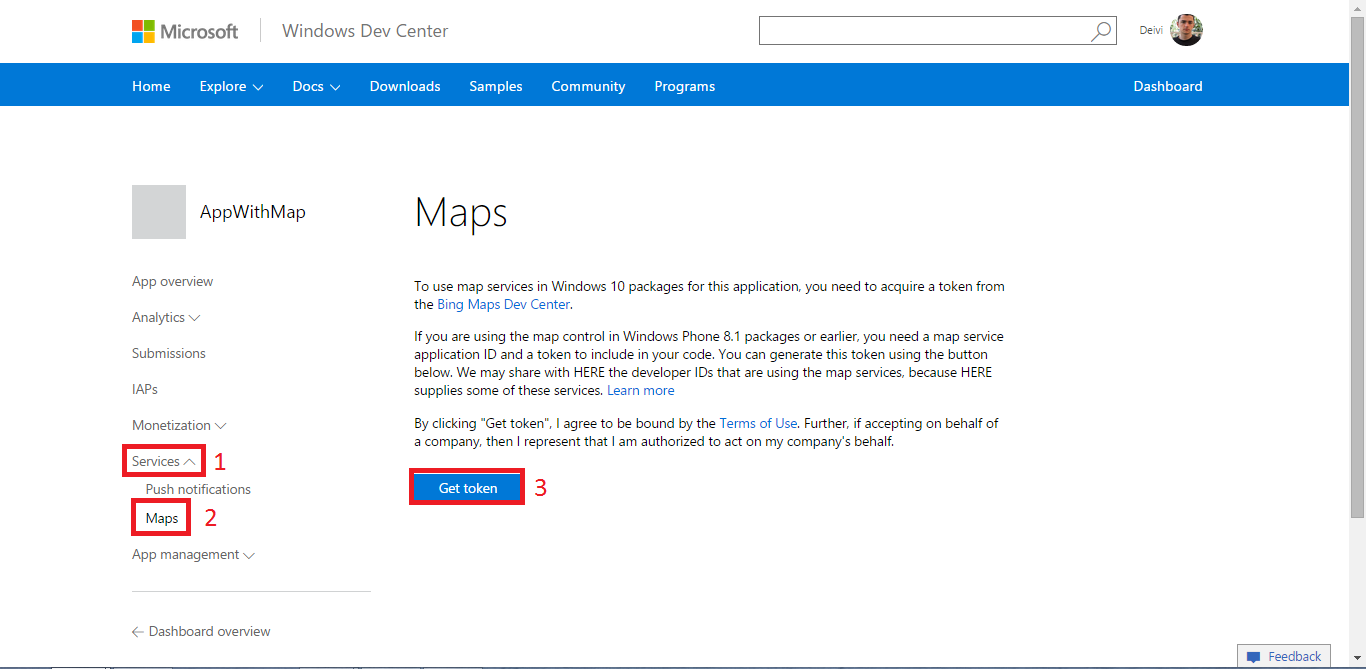
When you’ve done this, go to your developer Dashboard and select your app. On the left, click on Services, then Maps. Click the button Get token that appears on the right.
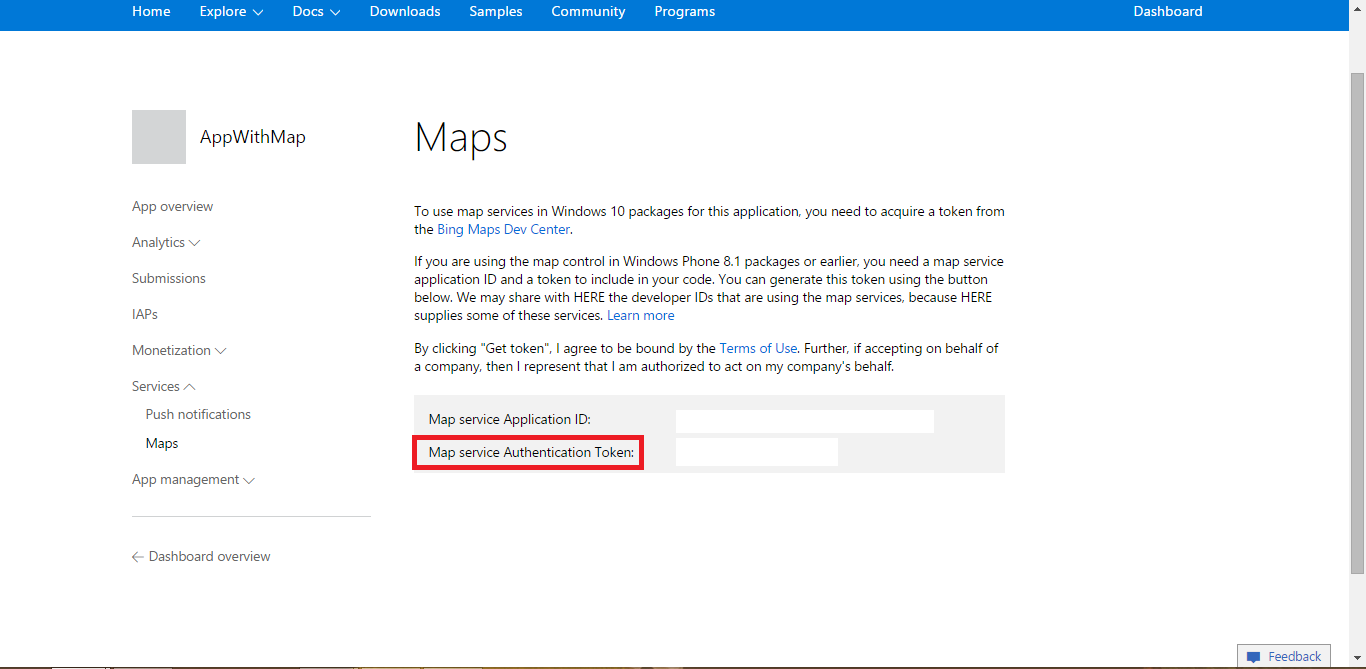
You will see two strings: Application ID and Authentication Token. The second is what we need.
Returning to our project, in the Code view of MainPage.xaml, update the following lines:
<Grid Grid.Row="1" x:Name="ContentRoot" Margin="0">
    <maps:MapControl x:Name="MyMap" MapServiceToken="<your authentication token>" VerticalAlignment="Stretch" HorizontalAlignment="Stretch" Margin="10"/>
</Grid>
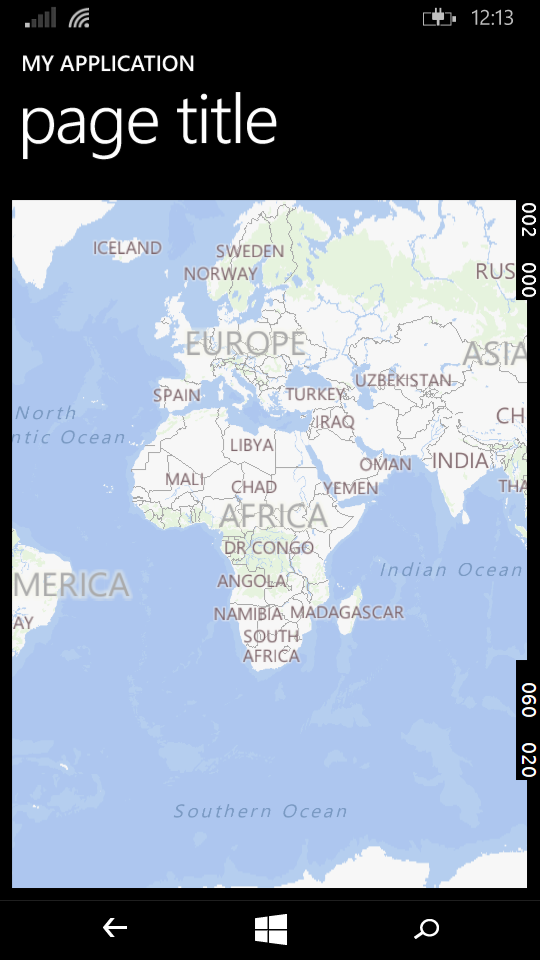
Here I added the MapServiceToken, a name for the control and a couple of properties to make the map almost fill the screen. Remember to replace <your authentication token> with your token. The MapControl does not show an actual map in design view, it shows the window where the map will fit, so you won’t be able to see what is going on right away. Run the app to see the result.
Get Current Location
One of the most common app requirements is getting a users location to know where there are in the world and collect location data.
To get this, open MainPage.xaml.cs and add the following namespaces.
using System;
using Windows.Devices.Geolocation;
using Windows.UI.Popups;
Add two methods inside the MainPage class.
private async void getLocation()
{
    Geolocator gl = new Geolocator
    {
        DesiredAccuracy = PositionAccuracy.High
    };

    try
    {
        Geoposition gp = await gl.GetGeopositionAsync(
            maximumAge:TimeSpan.FromMinutes(1),
            timeout:TimeSpan.FromSeconds(20));
        message("Lat: " + gp.Coordinate.Point.Position.Latitude + "\n Lon: " + gp.Coordinate.Point.Position.Longitude, "Coordinates");
    }
    catch (Exception e)
    {
        message(e.Message, "ERROR!");
    }
}

private async void message(string body, string title)
{
    var dlg = new MessageDialog(
            string.Format(body), title);

    try
    {
        await dlg.ShowAsync();
    }
    catch (Exception) { }
}
The second method displays the coordinates as a message dialog. You could choose to do different things with these coordinates once you get them. You can store them in a database, do some distance calculations, etc.
The real work here happens in the getLocation() method. First we declare a Geolocator with position accuracy set to high. We can even set the accuracy in meters using
gl.DesiredAccuracyInMeters = 100;
In both cases, the accuracy depends on what we want to with the location data we receive.
We can also set MovementThreshold and ReportInterval. MovementThreshold is the distance that one has to move to be actually called a move and raise a PositionChanged event. ReportInterval gives time (in milliseconds) to the location provider to refresh. If you have a button that lets the user get their location, and the user decides to press it 100 times, the call will not occur twice within the same interval.
To return to the getLocation() method. We have a try-catch block that contains the asynchronous call to get the GeoPosition using the geolocator previously mentioned and sets two parameters.
maximumAge specifies how old we want the location data to be. Meaning that, if we receive data for a location after 2 minutes, the data can be misleading depending on the situation, so we don’t want to use it.
timeout is the time we are willing to wait for a response, so that if we have calculations based on the data we receive, they wont delay the process.
Finally, call getLocation(). I added an AppBarButton with a click event. Add the code below to MainPage.xaml, before the Grid tag.
<Page.BottomAppBar>
  <CommandBar>
    <AppBarButton Icon="Target" Label="Get Location" Click="AppBarButton_Click"/>
  </CommandBar>
</Page.BottomAppBar>
Use this method as an Event Handler inside MainPage.xaml.cs.
private void AppBarButton_Click(object sender, Windows.UI.Xaml.RoutedEventArgs e)
{
    getLocation();
}
If you run the app now, you will get the following exception.
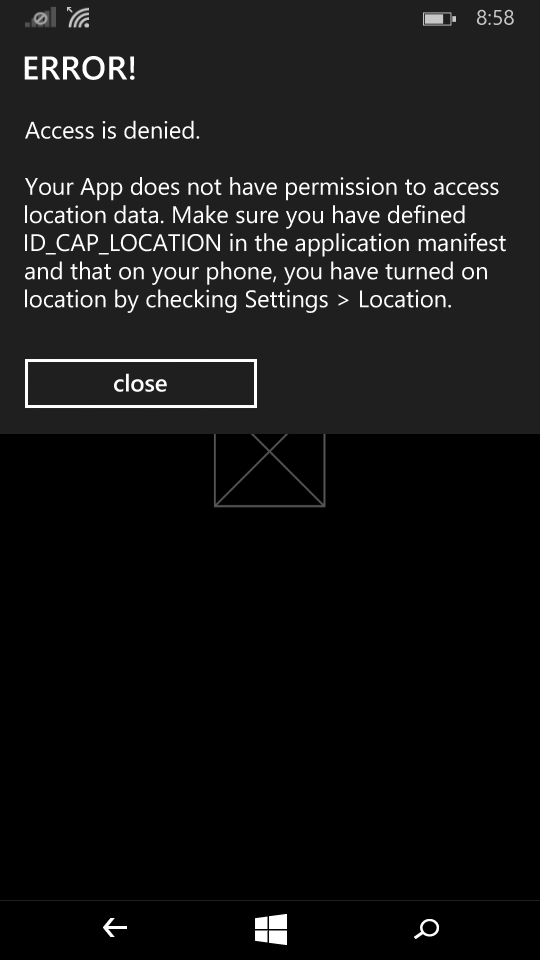
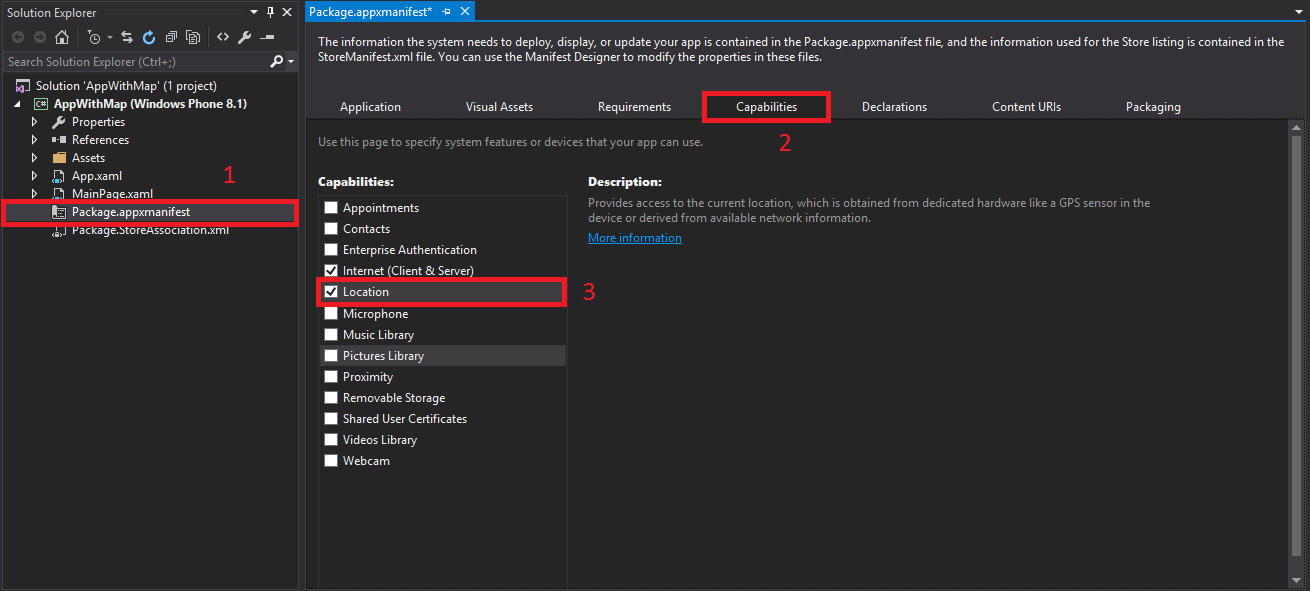
This happens because we need to declare when we want to get the users location, so that it isn’t done without their permission. Open Package.appxmanifest from the Solution Explorer. In Capabilities, tab + click Location from the list.
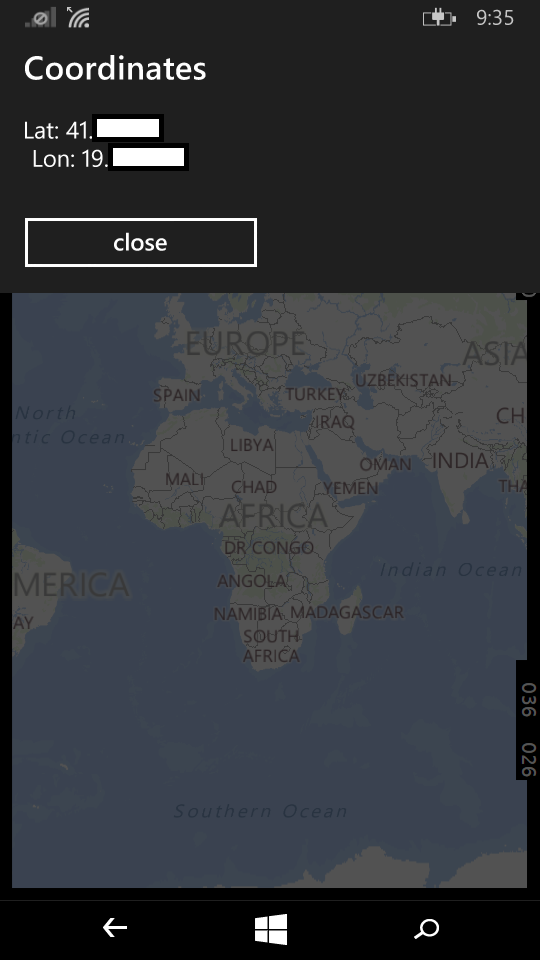
Run the app and press the Get Location button in the Command Bar. After a couple of seconds, depending on your network, a message will display with your location.
Change Map Center and Zoom Level
To serve our use case, the map has to show a specific location, or at least focus on a specific area. Let’s use the user’s location we received in the previous step as the center of the map. To do this I have added the following method to the MainPage class.
private void CenterMap(double lat, double lon)
{
   MyMap.Center = new Geopoint(new BasicGeoposition()
   {
      Latitude = lat,
      Longitude = lon
   });
}
You may have noticed that the map displays continents so far. If you want to zoom in to a specific country or city, you can do it with just one line of code. But different devices have different screen sizes, and the zoom may not be at the right level, or what if a user wants to zoom out? A good approach is adding a slider, so the user can control the zoom level. First, we add the control in MainPage.xaml just under the map tag.
<Slider x:Name="slider" VerticalAlignment="Bottom" Margin="15,0" LargeChange="1" Maximum="20" Minimum="1" SmallChange="1" ValueChanged="slider_ValueChanged"/>
The slider can have integer values from 1 to 20. To catch the ValueChanged event we use the following method, added to MainPage.cs.
private void slider_ValueChanged(object sender, Windows.UI.Xaml.Controls.Primitives.RangeBaseValueChangedEventArgs e)
{
    if (slider != null)
        MyMap.ZoomLevel = (int)slider.Value;
}
All that remains is to update the GetLocation() method we already have. The changes are made within the try block.
try
{
    Geoposition gp = await gl.GetGeopositionAsync(
        maximumAge:TimeSpan.FromMinutes(1),
        timeout:TimeSpan.FromSeconds(20));
    //message("Lat: " + gp.Coordinate.Latitude +
    //"\n Lon: " + gp.Coordinate.Longitude, "Coordinates");
    CenterMap(gp.Coordinate.Point.Position.Latitude, gp.Coordinate.Point.Position.Longitude);
    MyMap.ZoomLevel = (int)slider.Value;
}
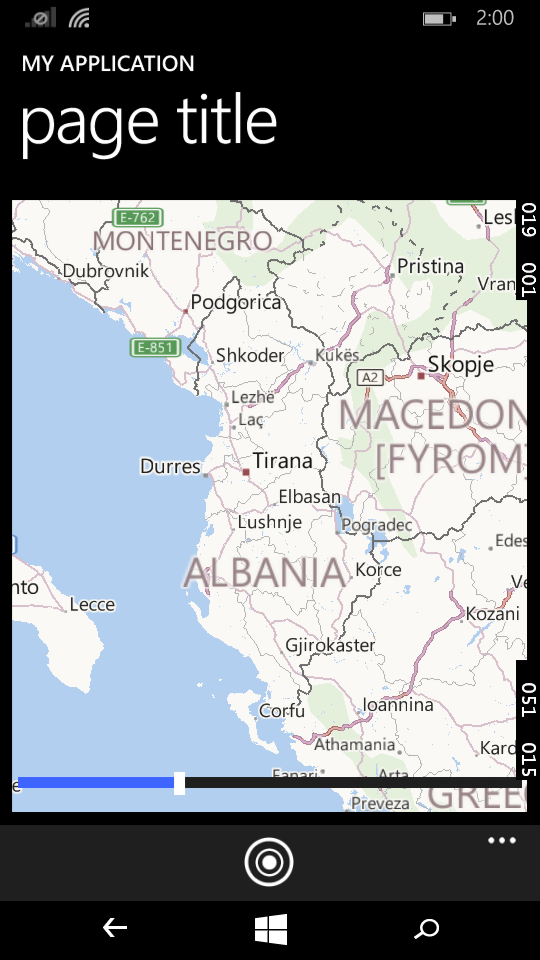
The result is in the screenshot below. The user can ask for their location and zoom in and out.
Adding Pushpins
The last thing I will cover are pushpins. They are a good way to make points noticeable on a map.
I added an AppBarToggleButton to show a pushpin representing the user’s location on the map. Now the CommandBar looks like this:
<Page.BottomAppBar>
    <CommandBar>
        <AppBarButton Icon="Target" Label="Get Location" Click="AppBarButton_Click"/>
        <AppBarToggleButton x:Name="PushPinToggle" Icon="MapPin" Label="Toggle Pushpin" Checked="AppBarToggleButton_Checked" IsChecked="False" Unchecked="AppBarToggleButton_Unchecked"/>
    </CommandBar>
</Page.BottomAppBar>
The check/uncheck events are handled by two methods which add or remove a pushpin from the map children.
private void AppBarToggleButton_Checked(object sender, Windows.UI.Xaml.RoutedEventArgs e)
{
    AddPushpin(MyMap.Center.Position.Latitude,
    MyMap.Center.Position.Longitude, Colors.Blue);
}

private void AppBarToggleButton_Unchecked(object sender, Windows.UI.Xaml.RoutedEventArgs e)
{
    MyMap.Children.Clear();
}
The work here happens in the AddPushpin method, which has three parameters: latitude and longitude of the location, and a color of the pushpin, which is optional.
public void AddPushpin(double lat, double lon, Color c)
{
    BasicGeoposition location = new BasicGeoposition();
    location.Latitude = lat;
    location.Longitude = lon;

    var pin = new Ellipse()
    {
        Fill = new SolidColorBrush(c),
        Stroke = new SolidColorBrush(Colors.White),
        StrokeThickness = 1,
        Width = 40,
        Height = 40,
    };

    pin.Tapped += pin_Tapped;

    Windows.UI.Xaml.Controls.Maps.MapControl.SetLocation(pin, new Geopoint(location));
    MyMap.Children.Add(pin);
}

void pin_Tapped(object sender, Windows.UI.Xaml.Input.TappedRoutedEventArgs e)
{
    message("This is your location.", "");
}
The pushpin is an Ellipse in my case. You can set different properties, like size, color, border, etc. I also added an EventHandler for when the user presses the pin. You can display more information on that location with a DialogMessage like we did earlier.
All that remains is to give this pin a geographical location, otherwise it will be an ellipse drawn over the MapControl. Zooming in and out, or moving around will not change the position of the pin.
Now that everything is in place, add your pushpin to the MapControl children, and run the app for the final time.
Conclusion
In this tutorial, we created an app containing a map that can for multiple purposes. We learned how to add this map and the requirements for it to work. We received the device location and changed the map center based on the result. We learned to add pushpins to a specific location, and to give extra information when pressed.
There are of course other applications for maps and I hope this has been a good example to lay the foundations.
Thank you for your time. May Code be with you!