Released in 2007, Gradle is a popular open-source automated build system that makes working on large projects easier. It’s based on concepts from its predecessors Apache Maven and Apache Ant, but uses a Groovy-based domain specific language (DSL) and Java, instead of XML.
It speeds up the build process by skipping unnecessary re-execution of up-to-date projects part of larger project trees. It also makes adding different libraries to a project easier by using just one line of code.
Gradle is the official build system for Android Studio, and as Android Studio users, most configuration happens automatically. But I feel a basic understanding of how it works is useful to every Android Developer.
In this article I will give a quick overview of Gradle, how to use it and common problems.
Standalone Installation
Manual installation is not required to be able to build new Android applications, I am including this section for a deeper look. It comes bundled with Android Studio, so you can skip to Gradle Basics if you want.
Head to the download page to get the latest release of. Download the binary only distribution, extract the files in a directory of choice and add to your path.
GRADLE_HOME=DOWNLOAD_PATH/gradle;
export GRADLE_HOME
export PATH=$PATH:$GRADLE_HOME/bin
Mac
Gradle is also available via Homebrew.
Windows
Windows users will need to edit Environmental Variables by right-clicking on My Computer and selecting Properties. Choose Advanced System Settings on the left panel. This will open the System Properties window. On the right bottom, click Environmental Variables and the following window will open.
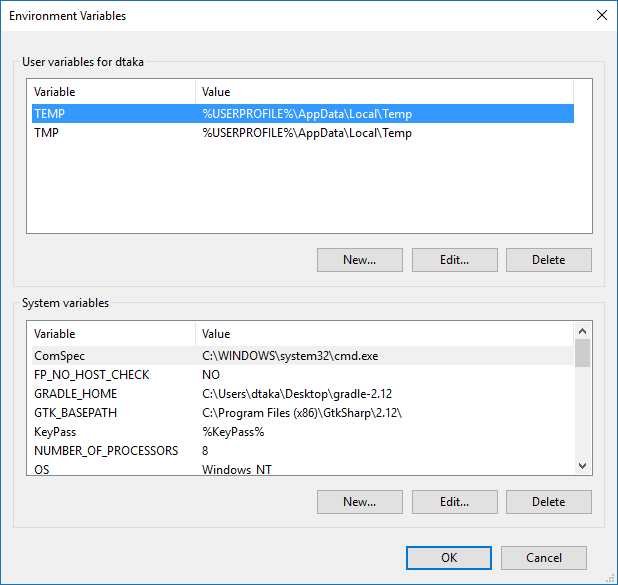
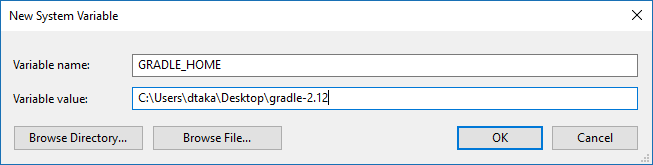
Under System Variables click New and enter GRADLE_HOME as the name, and the path to the extracted gradle zip and hit OK.
Return to System variables, find PATH in the list and click Edit.
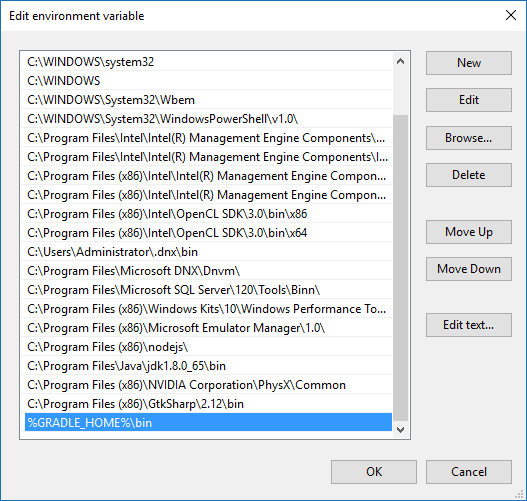
If the window is different, be careful not to delete what is already in there, instead go to the end of the line and add a semi-column ( ; ). In both cases add GRADLE_HOME%\bin and save changes.
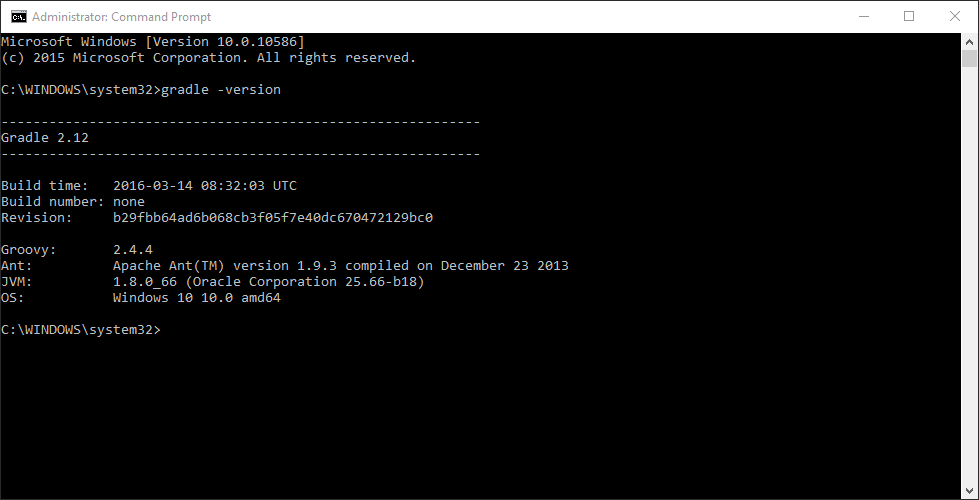
To check that everything is correct, open Command Prompt (or Terminal) and write gradle -version. It prints the version number on the console, and other details as below.
Gradle Basics
Open a text editor and create a new file that contains the following code:
task myFirstTask << {
    System.out.println "First task running..."
}
Save it as GradleTest/build.gradle (remember to choose All types as file type). Open a terminal, navigate to this folder and type gradle -q tasks to show the list of available tasks to run. There will be an Other tasks section at the bottom with one element underneath, myFirstTask.
Running gradle -q myFirstTask will execute the task, printing the line inside the task body. -q executes the command in silent mode, printing the information required, not the process.
All the tasks that you want Gradle to run are written in Groovy and saved into a file named build.gradle.
You can add more tasks, set dependencies on each other, and set default tasks.
For example:
task anotherTask (dependsOn: myFirstTask) << {
    System.out.println "Another task running..."
}
To make this task the default, add the following line at the beginning of the build file.
defaultTasks 'anotherTask'
Showing the list of tasks again, you will notice that myFirstTask is missing. Type gradle -q to execute the default task and on the screen will be printed:
First task running...
Another task running...
When you have a large project, with different projects depending on each other, the best approach is to have a different build file for each of them with specific tasks, and one for the whole project. The name of the files remains the same, but they are in different places. Gradle will need a configuration file to specify the projects to include. This is the settings.gradle file and contains the following.
include ":projectA", ":projectB", ":projectC"
This is a small selection of what’s possible with, I recommend reading the user guide and DSL reference for more detail.
Android Studio
There are several plugins available for Gradle, including the Android plugin, which I will cover next.
Open Android Studio and create a new project. By default it will have the Gradle wrapper included. The wrapper install the right tools for you, and the right version of these tools, relieving an unnecessary burden. Each wrapper is tied to a specific version of Gradle. For more information you can read the Wrapper documentation.
In the Project tab on the left, you will notice two main sections, app, and Gradle Scripts. The second section contains the files mentioned earlier. You will notice that an Android Studio project contains a build.gradle(Project:AppName) and a build.gradle(Module:app) file. The first contains configuration for all projects and modules in the application. The second contains specific configuration for the module it’s included with.
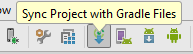
After any change you make to these files, you will need to sync Gradle from the bar that appears, or from the icon on the toolbar.
Syncing Gradle will evaluate the build files by comparing the current files to the project state that Gradle and Android Studio maintain. If it finds any changes it will execute just those specific tasks.

Thanks for reading. Enjoy coding and building!